Kenmore Dryer Repair
Once again, everything is made of garbage.
Day 1
Our dryer failed. I feel like I have a moral responsibility to attempt to repair anything before making it waste. So I’m trying my hand at the dryer.
Disassembly was harder than it needed to be. I kept thinking it would be like a '90s computer where you do the screws and then it opens, but it turns out the dryer is the opposite - while everything internal is mounted with screws, the case is opened with pry-bars and brute force. So I undid all the screws at the back, realized I'd unmounted some kind of plate, and then carefully lined it back up reaching through and screwed it back together.
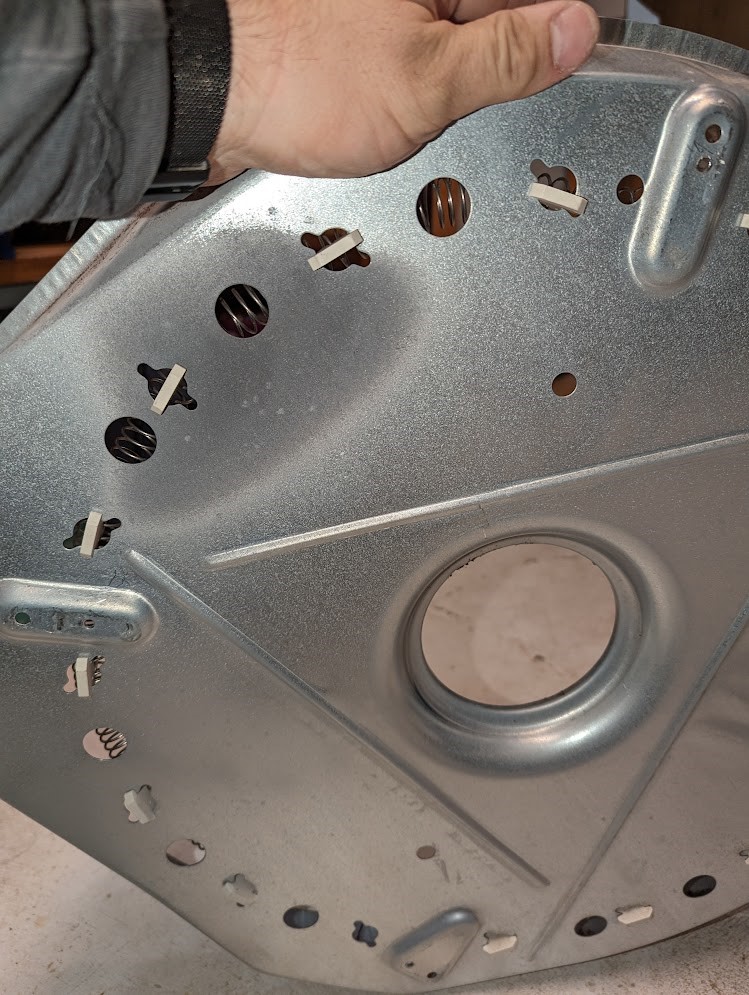
I watched a bunch of videos about how to pull the thing apart and check it - found a working voltmeter and tested all 3 thermal switches that I found. The only real problem was testing the coil - the plate where the coil was mounted had a nice open hole where the coil's port should have been, but instead the coil's port was far out of reach. I assume it's a safety thing - there's 3000+ watts coursing through that port, I assume they didn't want it easily touched when you can pry the lid off with a blade screwdriver.
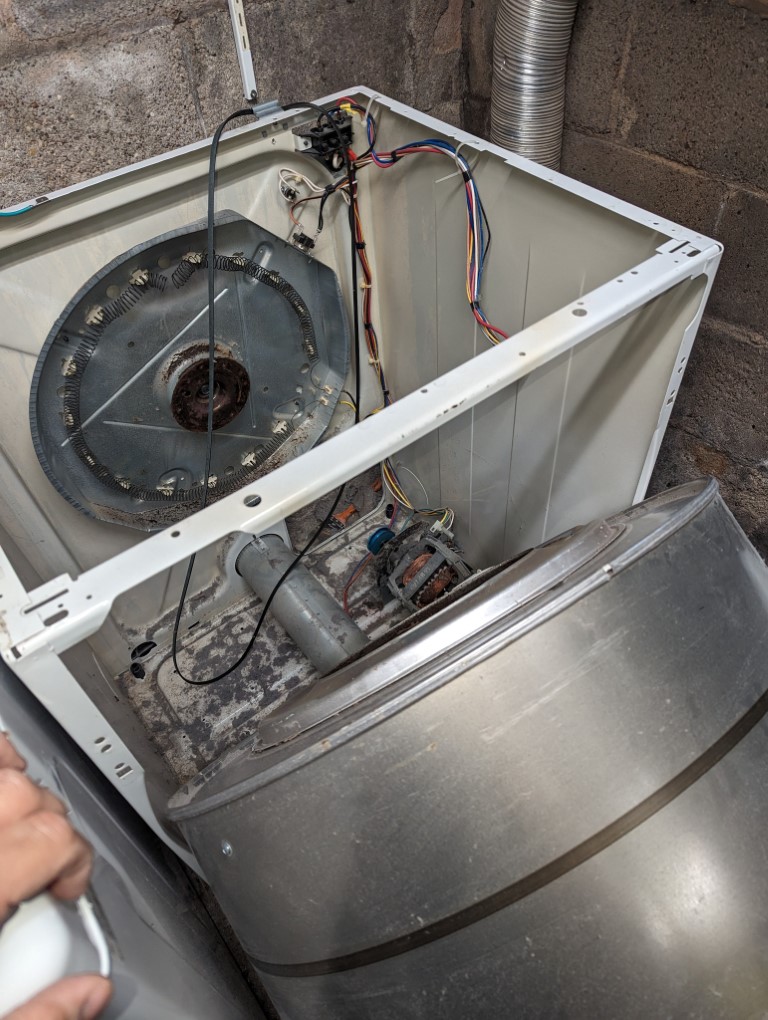
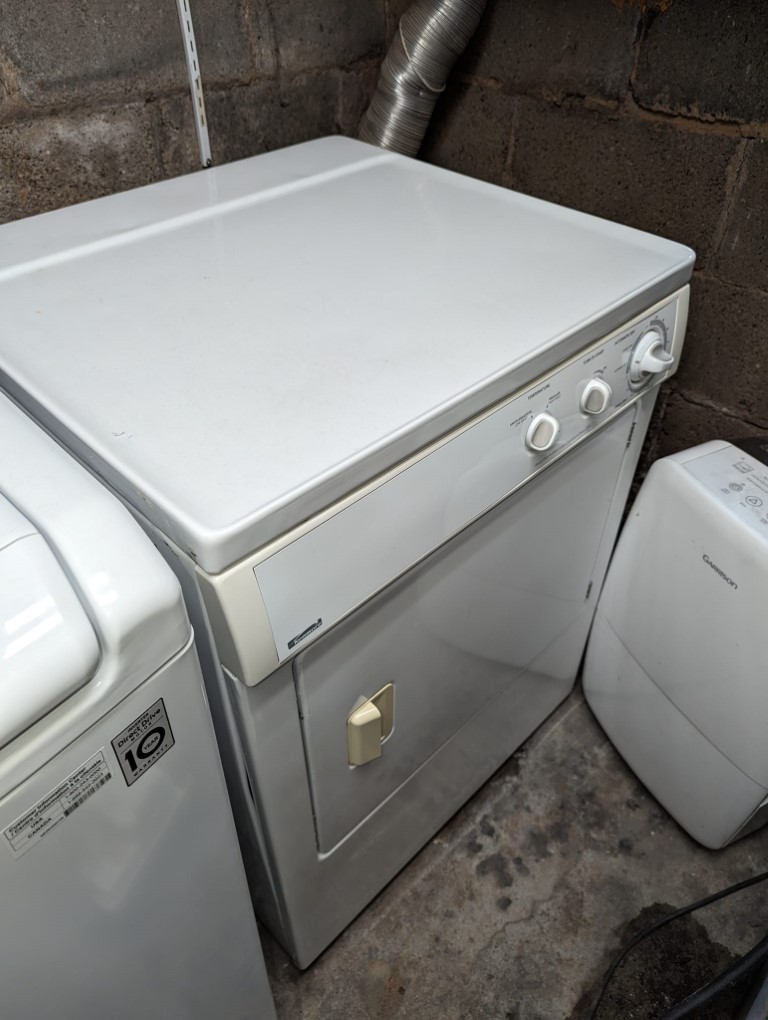
So then I gave in and pulled it apart properly. It's especially difficult since the last HVAC guys who did our house moved the furnace closer to the dryer and so it's miserably cramped, it was very hard to get the drum out.
Sadly I didn't realize that the whole tub joint pops upwards so I detached the tub from the join and then found the join comes off pretty easy anyways.
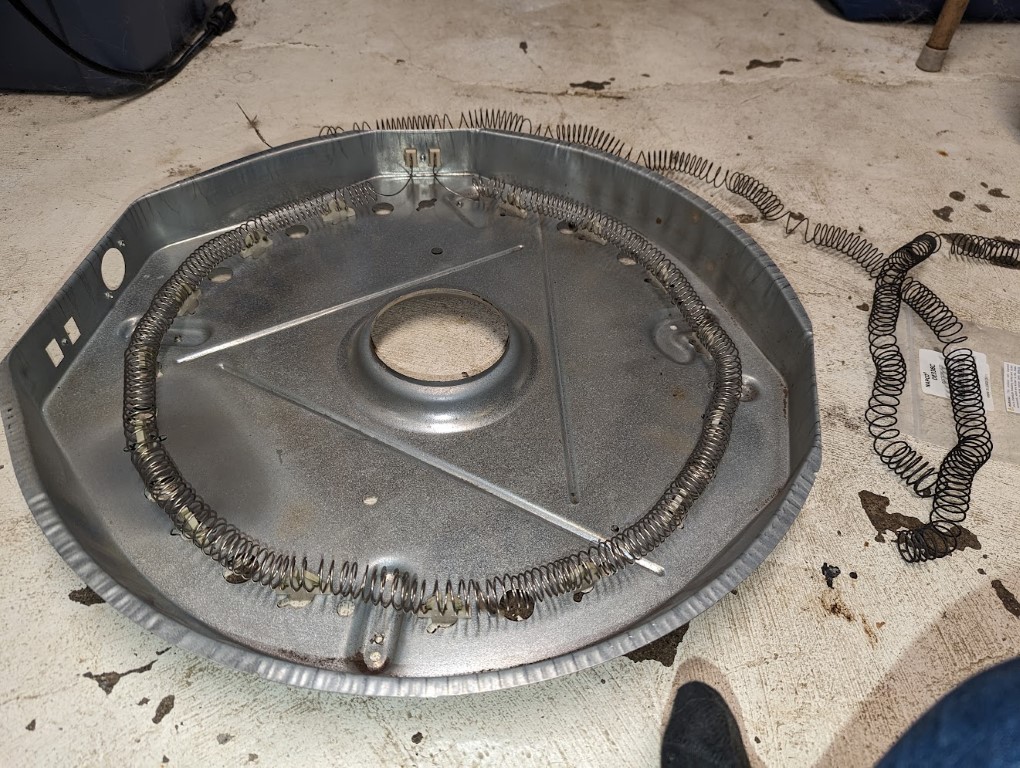
Ironically, the "some kind of plate" that I'd painstakingly removed and re-added? That was the thing the coil was mounted on, so I had to remove it again.
Anyhow, the broken coil was plainly visible, so I ordered in new parts. I also asked on Lemmy if there were any thoughts about what to do while I was in there and got the advice to replace the belt and re-lube the ball-axle while the drum was out.
Day 2
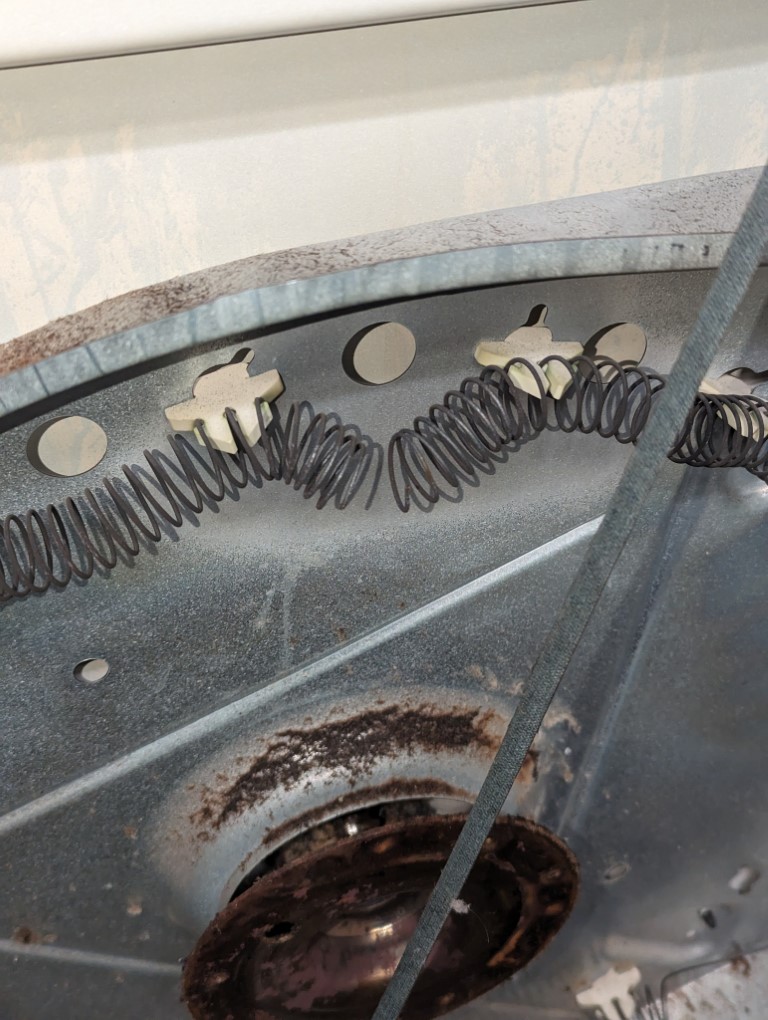
Well, the dryer has been disassembled and vacuumed, the dead coil removed, the new coil swapped in, ready to reassemble as soon as the new belt arrives. I was surprised how much of the brown schmutz in the heater was just ash from the coils - it dusted off quite shiny after I replaced the coil.
I’m a little worried about the visibly duller part of the heater assembly, hopefully that won’t absorb too much heat - I tried to cluster the coils a bit looser there to compensate.
It’s even visible on the reverse side.
Either way, I’m reassembling tomorrow when the new belt arrives.
Day 3
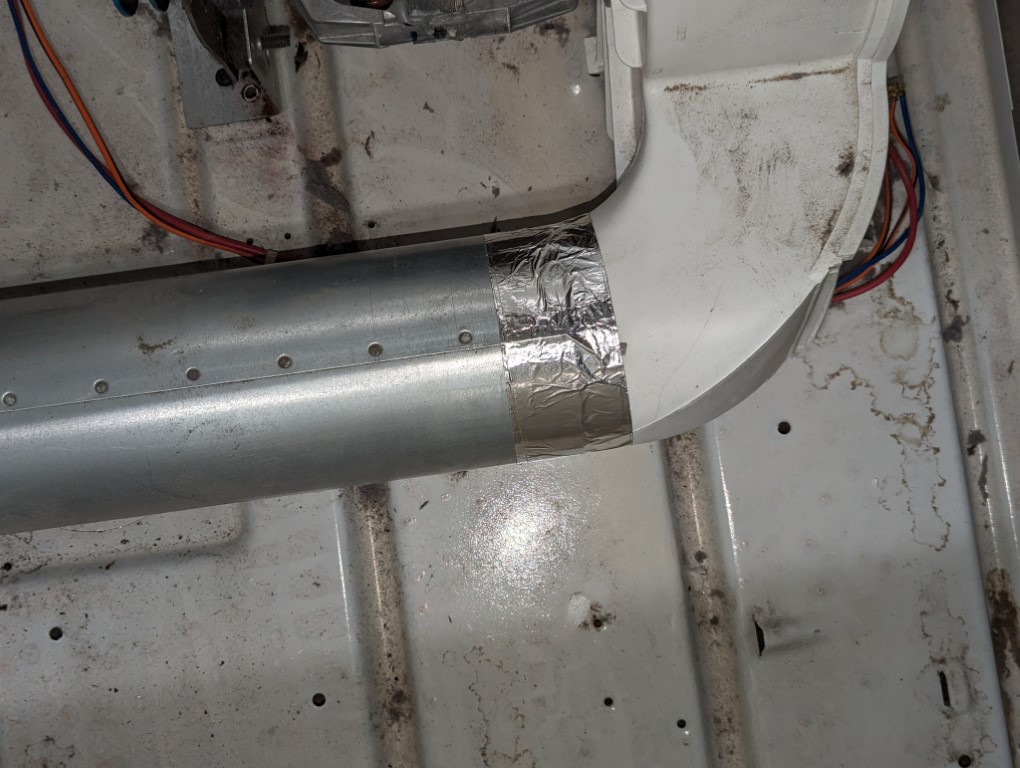
Well, the belt arrived and I went to Rona and picked up some (too expensive) axle grease and aluminum tape. The tape was to repair the exhaust hose and to replace the disintegrated rubber strap that was sealing the internal exhaust tube on.
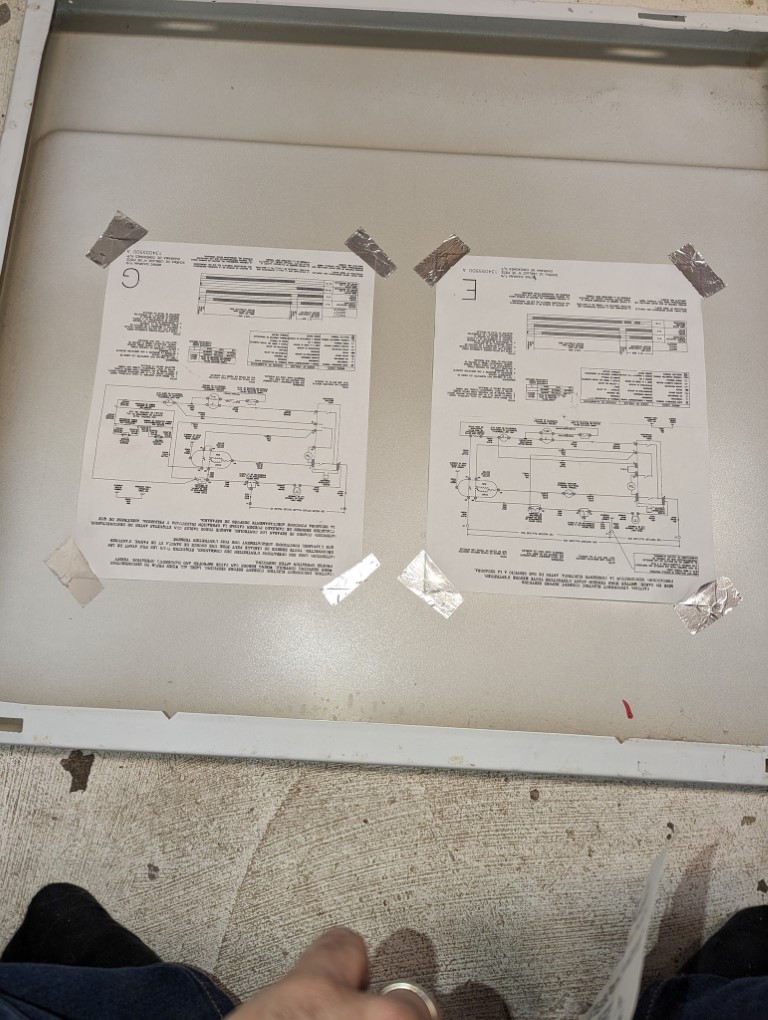
Of course, also the wiring diagram tore when I pulled it out, so I photocopied that and figured I should keep it and... well, when all you have is a hammer, everything looks like a nail.
And then we got into reassembling it. Brought in a helper and we re-lubed the axle, put everything back in place, and screwed it all back together.
Only one screw went missing!
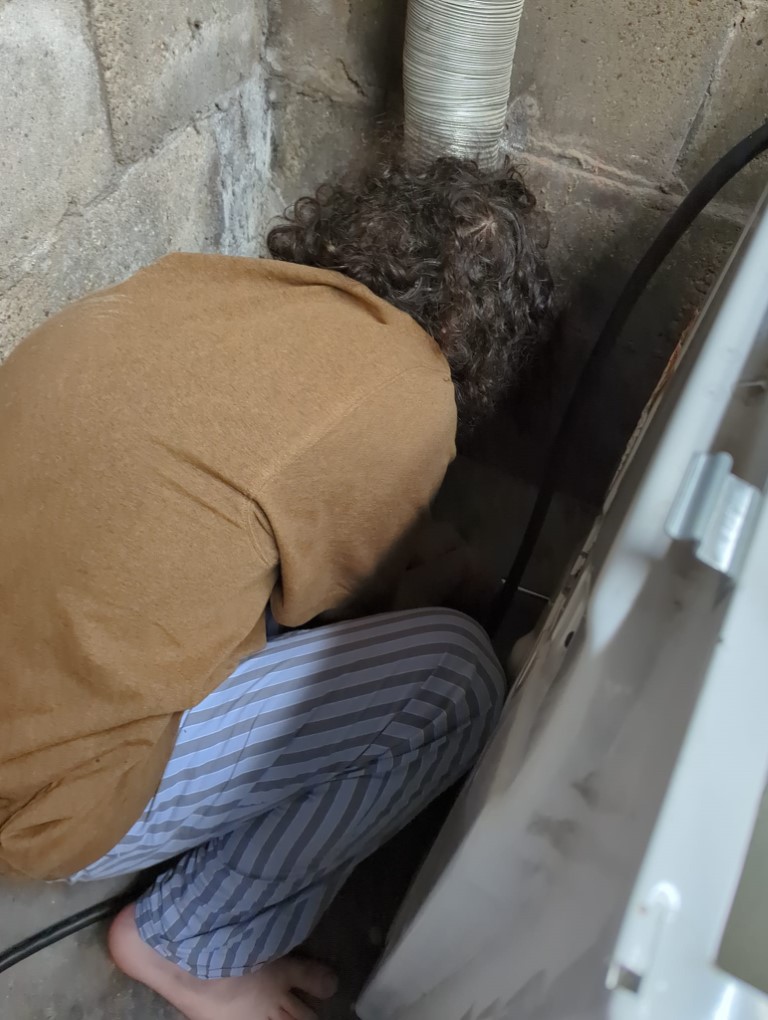
Had my kid sit with it for a full cycle armed with the fire extinguisher (just in case) while I went and picked up my other kid (late) from climbing gym. It all worked!
comments powered by Disqus